Secure Check Fail Recovery (How to Fix Safely)
Secure Check Fail: Recovery – What It Means and How to Fix It Safely 2026 Complete Guide Seeing the “Secure Check Fail: Recovery” error on your Samsung or
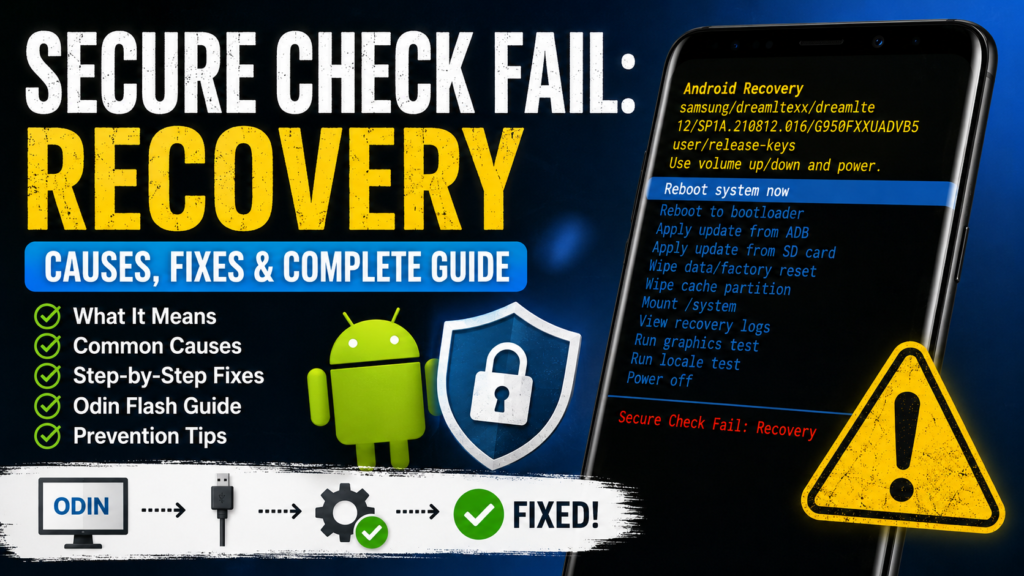
Secure Check Fail: Recovery – What It Means and How to Fix It Safely (2026 Complete Guide)
Seeing the “Secure Check Fail: Recovery” error on your Samsung or Android phone? Don’t panic. While the message looks serious, it usually means your device’s security system detected a problem with the recovery partition or firmware verification process.
In most cases, the issue can be fixed by restoring the correct firmware, repairing corrupted partitions, or reversing an incomplete update. The key is understanding why the error occurred before attempting any repairs.
This guide explains everything you need to know about Secure Check Fail: Recovery, including its causes, symptoms, safe fixes, advanced troubleshooting steps, and prevention tips.
Quick Overview
What Does “Secure Check Fail: Recovery” Mean?
“Secure Check Fail: Recovery” is a security protection mechanism found on many Android devices, particularly Samsung smartphones.
When your phone starts, the bootloader verifies critical system components before allowing them to load. If the recovery partition fails verification, Android blocks it from launching and displays the error:
Secure Check Fail: Recovery
Simply put:
✅ Your device detected that the recovery image doesn’t match what the bootloader expects.
❌ Recovery mode is being blocked because verification failed.
This verification failure can happen due to:
- Corrupted recovery files
- Failed OTA updates
- Incomplete firmware flashes
- Root modifications
- Custom ROM installations
- Wrong firmware versions
- Storage or partition corruption
Even completely stock devices can encounter this error after an interrupted software update.
Infographic: How the Verification Process Works
Phone Powers On │ ▼ Bootloader Starts │ ▼ Security Verification │ ┌──────┴──────┐ │ │Pass Fail │ │ ▼ ▼Recovery Secure CheckLoads Fail: RecoveryThe bootloader acts as a security gatekeeper. If anything looks suspicious or mismatched, Android refuses to load recovery.
Common Symptoms
Most users encounter Secure Check Fail: Recovery alongside one or more of these symptoms:
Recovery Mode Won’t Open
You attempt to boot into recovery mode but immediately receive the error.
Download Mode Still Works
Many Samsung devices can still enter Download Mode even when recovery fails.
Failed Software Update
The phone downloaded an OTA update, restarted, then became stuck during installation.
Endless Reboot Loop
The device repeatedly:
- Attempts recovery
- Fails verification
- Reboots
- Repeats
Odin Flash Errors
Samsung users often see:
- FAIL (Auth)
- SHA256 errors
- Hidden.img errors
during firmware installation.
Rooting or Custom ROM Attempts
The error frequently appears after:
- Installing TWRP
- Flashing custom ROMs
- Rooting with Magisk
- Downgrading firmware
Main Causes of Secure Check Fail: Recovery
Understanding the root cause helps prevent further damage.
1. Corrupted Recovery Partition
Recovery files may become corrupted due to:
- Sudden power loss
- Failed updates
- Storage errors
When verification runs, the recovery image no longer matches Samsung’s signed version.
2. Incomplete OTA Update
This is one of the most common causes.
Example:
- Phone downloads update.
- Battery dies during installation.
- Recovery files become partially updated.
- Security checks fail.
3. Wrong Firmware Installed
Samsung devices are extremely sensitive to firmware mismatches.
Even firmware that appears similar may be incompatible if:
- Region differs
- Carrier differs
- Build number differs
4. Root or System Modifications
Tools like:
- Magisk
- TWRP
- Custom kernels
modify protected partitions.
If changes aren’t properly patched, Samsung security blocks recovery access.
5. Bootloader Version Mismatch
Samsung generally prevents bootloader downgrades.
Attempting to install older firmware often triggers secure check failures.
6. Storage Hardware Problems
Less common but more serious.
If NAND/UFS storage begins failing:
- Partitions become unreadable
- Updates fail
- Verification errors appear
This often requires professional repair.
Before You Start
Important Data Warning
Some repair methods can erase everything on the device.
If Android still boots:
Back Up Immediately
Save:
- Photos
- Contacts
- Documents
- Messages
- App data
before making any changes.
Charge the Battery
Keep battery level above:
- Minimum: 50%
- Recommended: 70%+
Power loss during flashing can cause severe firmware damage.
Verify Your Exact Model Number
This is critical.
Examples:
- SM-S918B
- SM-A546E
- SM-G991U
You can find the model in Download Mode.
Never flash firmware intended for a different model.
Model mismatches are one of the leading causes of Secure Check Fail errors.
Quick Fixes to Try First
Before performing a full firmware flash, try these safer solutions.
Fix #1: Use the Correct Recovery Key Combination
Some users accidentally release buttons too early.
For many Samsung devices:
- Power off completely.
- Hold Volume Up + Power.
- Continue holding until Samsung logo appears.
- Release buttons.
Newer devices may require a USB cable connection while entering recovery.
Fix #2: Wipe Cache Partition
If recovery loads briefly:
- Select Wipe Cache Partition
- Confirm
- Reboot
This clears temporary files without deleting personal data.
Benefits:
- Safe
- Fast
- No data loss
Fix #3: Remove Recent Magisk Modules
If you recently rooted your device:
- Disable modules
- Remove modifications
- Restore stock boot image
Many recovery verification failures stem from incompatible modules.
Samsung Secure Check Fail Recovery Fix (Odin Method)
For Samsung phones, Odin is usually the most reliable solution.
Step 1: Enter Download Mode
General method:
- Power off device.
- Hold Volume Down + Power.
- On some models:
- Volume Down + Bixby + Power
- When warning screen appears:
- Press Volume Up
You’ll enter Download Mode.
Step 2: Download Correct Firmware
The firmware package typically includes:
FilePurposeBLBootloaderAPSystem & RecoveryCPModemCSCRegion settings + wipeHOME_CSCRegion settings without wipe
Firmware Package Structure
Firmware Package│├── BL├── AP├── CP├── CSC└── HOME_CSCThe AP file is particularly important because it contains the recovery image.
Step 3: Load Files Into Odin
Match each file to the correct slot.
Odin SlotFile TypeBLBL_xxx.tar.md5APAP_xxx.tar.md5CPCP_xxx.tar.md5CSCCSC_xxx.tar.md5HOME_CSCHOME_CSC_xxx.tar.md5
Incorrect slot placement often causes verification failures.
Step 4: Flash Firmware
Connect the device using:
✅ Original cable
✅ Reliable USB port
Avoid:
❌ USB hubs
❌ Loose cables
❌ Front-panel ports
Click Start and wait patiently.
Do not disconnect the phone during flashing.
Understanding Common Odin Errors
FAIL (Auth)
Meaning
Firmware signature mismatch.
Causes
- Wrong model firmware
- Wrong region firmware
- Modified firmware
Solution
Download correct official firmware.
FAIL (SHA256)
Meaning
Corrupted firmware package.
Solution
Re-download the firmware and verify file integrity.
FAIL (Hidden.img)
Meaning
Partition mismatch.
Solution
Use firmware matching your exact CSC/carrier.
Fixing Secure Check Fail Recovery on Other Android Devices
Non-Samsung phones usually rely on Fastboot.
Common brands include:
- Google Pixel
- OnePlus
- Motorola
- Xiaomi
Step 1: Install ADB & Fastboot
Install platform tools on your computer.
Step 2: Download Official Factory Image
Always use:
- Official manufacturer image
- Correct device codename
- Matching build version
Step 3: Flash Factory Image
Follow OEM instructions exactly.
Avoid mixing:
- Recovery images
- Vendor images
- Boot images
from different builds.
Step 4: Re-Lock Bootloader (Optional)
Only re-lock if:
- Device is completely stock
- Everything boots correctly
Locking a modified system may brick the phone.
Advanced Troubleshooting
If a standard flash doesn’t solve the issue, deeper troubleshooting is required.
Try Full CSC Instead of HOME_CSC
Many users prefer HOME_CSC because it attempts to preserve data.
However, corrupted partitions often require:
Full CSC Flash
Advantages:
- Cleans damaged partitions
- Removes corrupted update remnants
- Provides fresh recovery image
Disadvantage:
- Usually wipes all data
Check for Partition Mismatches
If recovery still fails:
- Bootloader may be updated
- System image may be outdated
- Recovery may belong to a different build
The safest fix is flashing:
BL + AP + CP + CSCfrom the same firmware package.
Avoid Re-Partitioning
Many online tutorials recommend:
“Just check Re-Partition.”
This is dangerous.
Only use Re-Partition when:
- You have the correct PIT file
- You have model-specific instructions
Incorrect PIT files can permanently brick devices.
Why Recovery Can Fail While Bootloader Works
This confuses many users.
The bootloader and recovery are separate components.
Possible scenario:
Bootloader = ValidRecovery = CorruptedResult:
Bootloader PassesRecovery FailsSecure Check Fail: RecoveryThis is why flashing only one partition sometimes doesn’t resolve the issue.
Frequently Asked Questions
Can I Fix Secure Check Fail Recovery Without Losing Data?
Sometimes.
If the issue involves:
- Cache corruption
- Minor update failures
you may recover without wiping.
Using HOME_CSC sometimes preserves data during Samsung flashes.
However, severe partition corruption often requires a factory reset.
Does This Mean My Phone Was Rooted?
No.
Many stock devices experience this after:
- Interrupted updates
- Corrupted downloads
- Firmware mismatches
Rooting simply increases the likelihood.
Can I Keep Rebooting the Phone?
Not recommended.
Repeated boot attempts:
- Drain battery
- Increase storage stress
- Rarely solve the problem
Address the firmware issue instead.
Is Samsung Smart Switch Enough to Fix It?
Usually not.
Smart Switch is excellent for:
- Backups
- Restores
- Transfers
However, Secure Check Fail errors often require firmware repair through Odin.
Can I Downgrade My Firmware?
Generally no.
Samsung bootloaders frequently block downgrades.
Attempting one often triggers:
- Secure Check Fail
- Auth failures
- Flash errors
Use equal or newer firmware versions whenever possible.
Information to Gather Before Seeking Help
Providing accurate details dramatically improves troubleshooting.
Keep records of:
Device Information
- Exact model number
- Carrier version
- Region code
Firmware Details
- Build number
- CSC code
- Flash package used
Error Information
- Secure Check Fail: Recovery
- Secure Check Fail: Bootloader
- Odin failure messages
Screenshots
Capture:
- Download Mode screen
- Odin logs
- Error messages
This helps identify mismatches quickly.
Prevention Checklist
Follow these best practices to avoid Secure Check Fail errors in the future.
Use Official Updates
Install updates through:
Settings → Software Update
whenever possible.
Avoid Random Firmware Files
Never flash firmware from untrusted sources.
Always verify:
- Model number
- Region
- Build version
Maintain Adequate Storage
Low storage can corrupt updates.
Keep at least:
- 10–15 GB free
before major Android upgrades.
Keep Battery Charged
Avoid installing updates below 30%.
Don’t Interrupt Flashing
Never disconnect:
- USB cable
- Battery source
- Computer
during firmware installation.
Back Up Regularly
If you experiment with:
- Rooting
- Custom ROMs
- Recovery tools
assume a factory reset may eventually be necessary.
Final Thoughts
Secure Check Fail: Recovery is a security verification error that occurs when Android detects a mismatch, corruption, or integrity problem in the recovery partition. While the message can be alarming, it is usually fixable.
For Samsung devices, the most successful solution is typically flashing the correct official firmware package through Odin, ensuring that BL, AP, CP, and CSC files all belong to the same build. For other Android devices, restoring the proper factory image via Fastboot usually resolves the problem.
The most important rule is simple: never guess with firmware files. Verify your exact model, use official software, follow manufacturer instructions carefully, and avoid mixing firmware versions. If multiple verified repair attempts fail, stop flashing and consult a professional technician, as underlying storage hardware failure may be the real cause.